smysnk/react-retro-display-tty-ansi-ascii
React component for calm, terminal-flavored interfaces. It can be a read-only display, a controlled editable surface, a controller-driven terminal, or a small command prompt. - smysnk/react-retro-d...
2 stars · 0 forks
README
react-retro-display-tty-ansi.mp4
react-retro-display-tty-ansi-ascii
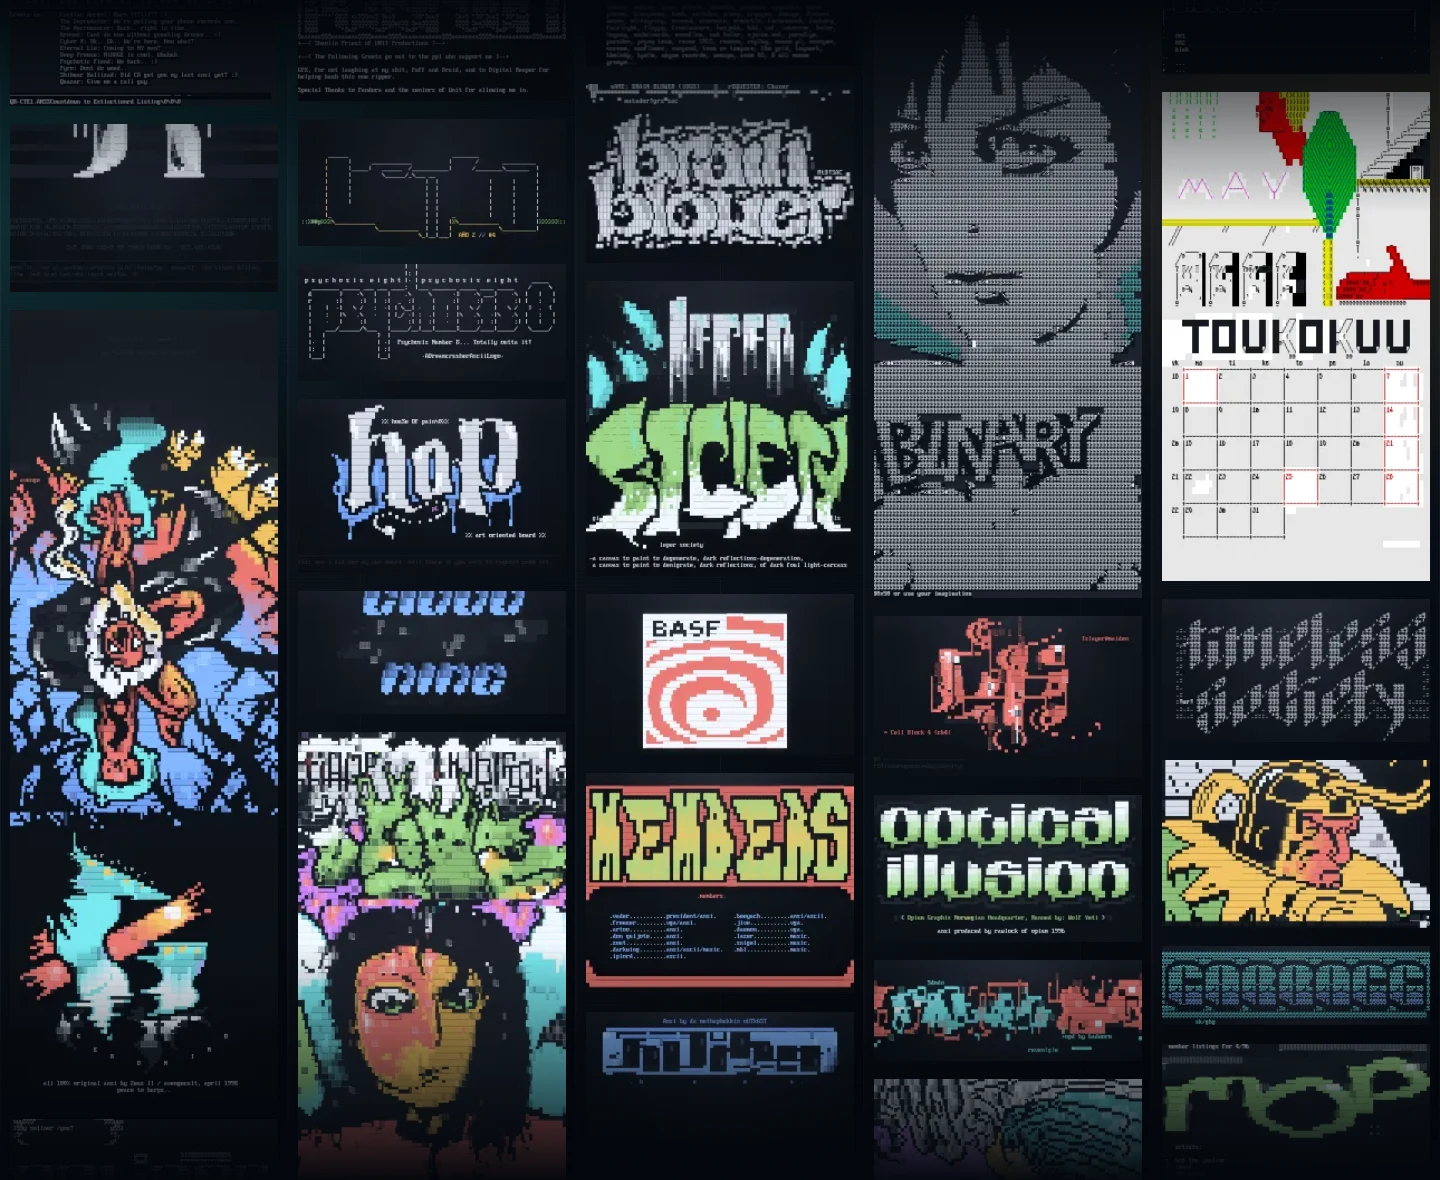
Storybook: smysnk.github.io/react-retro-display-tty-ansi-ascii react-retro-display-tty-ansi-ascii is a React component for calm, terminal-flavored interfaces. It can be a read-only display, a controlled editable surface, a controller-driven terminal, or a small command prompt without changing visual language. It also understands ANSI styling, semantic display color modes, and an xterm-checked terminal behavior surface for real control character playback. It can also project itself onto either dark or light LCD glass without asking the whole app shell to follow. See It In Action Want to see the component running in a real product surface instead of a contained story? Check out ascii.gallery, which uses the retro player and viewer stack to honor the ANSI and ASCII scenes of old through a living gallery of scrolling artwork, fullscreen playback, and preserved retro display behavior.
Latest CI runs: github.com/smysnk/react-retro-display-tty-ansi-ascii/actions/workflows/cicd.yml Getting Started Install the package, bring in the shared stylesheet, and start with the simplest thing: npm install react-retro-display-tty-ansi-ascii import { RetroScreen } from "react-retro-display-tty-ansi-ascii"; import "react-retro-display-tty-ansi-ascii/styles.css";
export function StatusCard() { return ( <RetroScreen mode="value" value="SYSTEM READY" color="#97ff9b" /> ); } That is the whole entry point. You hand the component a mode, a value or controller when needed, and let it handle the grid, wrapping, cursor rendering, and terminal feel. Touch Input Use touchInput when the display itself should behave like a touch surface and report grid-aligned cell hits back to the host application. The touch contract is intentionally simple:
the component emits 1-based row and col coordinates it also reports the measured rows and cols that were active for that touch input is delivered as a single down event for each press long presses do not stream repeated events move events are ignored by default in touch mode the next touch is not accepted until the current press is released
That makes it a good fit for grid-driven interfaces such as soft terminals, retro games, touch menus, and keypad-like overlays where the host wants to interpret one deliberate press at a time. See it in action in the live m68k-interpreter touch demo. import { useState } from "react"; import { RetroScreen } from "react-retro-display-tty-ansi-ascii"; import "react-retro-display-tty-ansi-ascii/styles.css";
export function TouchDemo() { const [lastTouch, setLastTouch] = useState("Tap the screen");
return ( <RetroScreen mode="terminal" gridMode="static" rows={12} cols={32} value={[ "┌──────────────────────────────┐", "│ │", "│ TOUCH ME │", "│ │", "│ ↑ up right → │", "│ │", "│ ← left down ↓ │", "│ │", "│ │", "│ │", "│ │", "└──────────────────────────────┘" ].join("\\n")} touchInput={{ enabled: true, onTouchCell: ({ row, col, rows, cols, pointerType }) => { setLastTouch(`${pointerType} @ ${row},${col} inside ${rows}x${cols}`); } }} /> ); } The host remains responsible for deciding what a touch means. RetroScreen only handles the overlay, pointer capture, hit testing, and the single-press-until-release behavior. Display Padding Use displayPadding when the screen content should sit tighter to the glass or breathe a little more. The prop accepts:
a number for uniform pixel padding a CSS length string for uniform padding an object with block and inline an object with per-side top, right, bottom, and left
<RetroScreen mode="value" value="Tight framing" displayPadding={8} />
<RetroScreen mode="value" value="Room to breathe" displayPadding="1.25rem" />
<RetroScreen mode="terminal" displayPadding={{ block: 10, inline: 14 }} value="measured from the padded screen area" />
<RetroScreen mode="prompt" displayPadding={{ top: 6, right: 10, bottom: 12, left: 10 }} /> RetroScreen also shows a focus glow around the shell by default so editable, prompt, and terminal surfaces clearly read as active. Disable it when you want a quieter shell: <RetroScreen mode="terminal" focusGlow={false} /> Display Frame Use displayFrame={false} when the glass itself should stay visible but the outer shell chrome should drop away. This is especially useful for fullscreen mobile artwork, embedded canvases, or layouts where the host surface already provides the surrounding frame. <RetroScreen mode="terminal" value="frameless but still live" displayFrame={false} displayPadding={0} /> Frameless mode removes the bezel, inset border, outer radius, and shell shadow while keeping the same display surface, grid, ANSI rendering, and optional touch overlay behavior. Because rows and columns are measured from the visible screen area, tighter padding yields a denser grid and looser padding yields fewer cells. Resizable Panels Use resizable when the panel itself should be draggable instead of only responding to layout changes around it. The live Storybook demo now shows a visible mouse cursor grabbing the real handles, including the optional leading-edge handles, so the docs match the shipped interaction.
react-retro-display-tty-ansi-resizable-panel.mp4
<RetroScreen mode="terminal" resizable="both" resizableLeadingEdges displayPadding={{ block: 12, inline: 14 }} value={[ "All resize handles are live here.", "", "Drag left, right, top, bottom, or either corner.", "Rows and columns recompute as the panel changes size." ].join("\n")} /> Reach for:
resizable="width" when the panel should only stretch sideways resizable="height" when it should stack or collapse vertically resizable or resizable="both" for freeform terminal panes resizableLeadingEdges when left, top, and top-left handles should join the same interaction surface
Light And Dark Surface Modes Use displaySurfaceMode when the LCD itself should read like a light instrument panel or a dark night-ops surface. This is separate from the host page theme, so the same ANSI-rich terminal content can sit inside bright docs, dark dashboards, or a side-by-side comparison view.
react-retro-display-tty-ansi-light-dark-hosts.mp4
<RetroScreen mode="terminal" value={[ "\u001b[1mLIGHT SURFACE\u001b[0m", "\u001b[38;5;160mR\u001b[38;5;214mA\u001b[38;5;190mI\u001b[38;5;45mN\u001b[38;5;39mB\u001b[38;5;141mO\u001b[38;5;201mW\u001b[0m contrast check", "\u001b[38;2;194;94;0mamber\u001b[0m \u001b[38;2;0;104;181mblue\u001b[0m \u001b[38;2;108;40;148mviolet\u001b[0m" ].join("\n")} displaySurfaceMode="light" displayColorMode="ansi-extended" displayPadding={{ block: 12, inline: 14 }} />
<RetroScreen mode="terminal" value={[ "\u001b[1mDARK SURFACE\u001b[0m", "\u001b[38;5;160mR\u001b[38;5;214mA\u001b[38;5;190mI\u001b[38;5;45mN\u001b[38;5;39mB\u001b[38;5;141mO\u001b[38;5;201mW\u001b[0m contrast check", "\u001b[38;2;255;176;86mamber\u001b[0m \u001b[38;2;102;198;255mblue\u001b[0m \u001b[38;2;214;145;255mviolet\u001b[0m" ].join("\n")} displaySurfaceMode="dark" displayColorMode="ansi-extended" displayPadding={{ block: 12, inline: 14 }} /> Reach for displaySurfaceMode="light" when the LCD should feel like paper, enamel, or a sunlit instrument panel. Keep displaySurfaceMode="dark" for the classic terminal-glass look. The same ANSI palette will still be remapped for readable contrast against each surface. Modes Of Use 1. Quiet output Use mode="value" when the display is just there to speak.
react-retro-display-tty-ansi-quiet-output.mp4
<RetroScreen mode="value" value="LINK STABLE\nAwaiting operator input." /> 2. Signal intercept Use a controller when the display should reveal text over time and the cadence matters as much as the message.
react-retro-display-tty-ansi-white-rabbit-signal.mp4
import { useEffect } from "react"; import { RetroScreen, createRetroScreenController } from "react-retro-display-tty-ansi-ascii";
const controller = createRetroScreenController({ rows: 5, cols: 34, cursorMode: "solid" });
export function WhiteRabbitSignal() { useEffect(() => { controller.reset(); controller.write("Wake up, Neo..."); }, []);
return <RetroScreen mode="terminal" controller={controller} />; } The Storybook version uses timed writes and screen clears so the four-line sequence lands like a late-night intercepted signal instead of a static quote. 3. Matrix code rain Use the terminal renderer as a dense animated display surface when you want the operators' green rain instead of a message prompt.
react-retro-display-tty-ansi-matrix-code-rain.mp4
import type { CSSProperties } from "react"; import { RetroScreen, createRetroScreenController } from "react-retro-display-tty-ansi-ascii";
const controller = createRetroScreenController({ rows: 24, cols: 58 }); const matrixFontStyle = { "--retro-screen-font-family": "\"Matrix\"" } as CSSProperties;
<RetroScreen mode="terminal" controller={controller} gridMode="static" rows={24} cols={58} displayColorMode="ansi-extended" color="#8efe8e" displayFontScale={1.05} displayRowScale={1.08} displayPadding={{ block: 12, inline: 14 }} style={matrixFontStyle} /> The Storybook demo keeps the glyphs planted on the grid and moves waves of illumination through them so the effect feels closer to the movie than a simple falling-text loop. It uses the bundled Matrix font. 4. Editable drafting Turn on editable when you want the same surface to behave like a controlled input.
react-retro-display-tty-ansi-editable-drafting.mp4
import { useState } from "react";
export function DraftPad() { const [value, setValue] = useState("");
return ( <RetroScreen mode="value" value={value} editable autoFocus placeholder="Write a line, then press Enter." onChange={setValue} onSubmit={(submitted) => { console.log("submitted:", submitted); }} /> ); } 5. Terminal output from a controller Use a controller when the display should follow external writes over time.
react-retro-display-tty-ansi-terminal-output.mp4
import { useEffect } from "react"; import { RetroScreen, createRetroScreenController } from "react-retro-display-tty-ansi-ascii";
const controller = createRetroScreenController({ rows: 9, cols: 46, cursorMode: "hollow" });
export function StreamedTerminal() { useEffect(() => { controller.reset(); controller.writeln("BOOT react-retro-display-tty-ansi-ascii"); controller.write("\u001b[1mREADY\u001b[0m ansi parser online"); }, []);
return <RetroScreen mode="terminal" controller={controller} />; } If you already have a terminal-like buffer as a string, mode="terminal" also accepts value or initialBuffer. Live TTY Websocket Bridge RetroScreen can also act as the browser-side surface for a real TTY session. The transport stays outside the component, while the component handles geometry, keyboard capture, paste, focus reporting, mouse reporting, alternate-screen rendering, title updates, and bell metadata.
react-retro-display-tty-ansi-live-tty-terminal-bridge.mp4
The demo sequence is recorded from a live shell session and stages the kind of workload this bridge is built for: a live-updating top session, a fullscreen vim pass, and a nano screen with help bars and cursor-owned chrome. import { RetroScreen, createRetroScreenWebSocketSession } from "react-retro-display-tty-ansi-ascii";
const session = createRetroScreenWebSocketSession({ url: "ws://127.0.0.1:8787", openPayload: { cwd: "/workspace", term: "xterm-256color" } });
export function LiveShell() { return ( <RetroScreen mode="terminal" session={session} autoFocus displayColorMode="ansi-extended" displayPadding={{ block: 12, inline: 14 }} /> ); } For local development, the repo includes a reference node-pty websocket backend: yarn tty:server By default, that example server starts a themed demo shell rooted at ~/tty-demo with the prompt operator@retro:~/tty-demo$, so the live story and the recorded bridge demo share the same shell framing. There is also a dedicated Storybook story for this path. It now defaults to the local example server at ws://127.0.0.1:8787, so if yarn tty:server is already running you can open the Live Tty Terminal Bridge story directly without adding any extra query params. If you want to override the target or the open payload, use: window._RETRO_SCREEN_TTY_DEMO_ = { url: "ws://127.0.0.1:8787", openPayload: { cwd: "/Users/josh/play/react-retro-display", term: "xterm-256color" } }; The example server now supports token checks, origin checks, idle timeouts, payload-size limits, and optional command/cwd/env override restrictions. See examples/node-tty-websocket-server/README.md for the available flags. 6. Prompt-first interaction Use mode="prompt" when the interface should feel like a guided shell.
react-retro-display-tty-ansi-prompt-loop.mp4
<RetroScreen mode="prompt" autoFocus promptChar="$" acceptanceText="READY" rejectionText="DENIED" onCommand={async (command) => { if (command === "status") { return { accepted: true, response: ["grid synced", "cursor stable"] }; }
return { accepted: false, response: "unknown command" }; }} /> The Apple DOS 3.3 demo sits nicely in the same family when you want the interface to feel boot-first and command-led instead of form-like.
react-retro-display-tty-ansi-ascii-apple2-dos33.mp4
Under the hood, the Apple II shell is built as a small userland runtime on top of mode="terminal" instead of trying to force the one-shot prompt path to behave like BASIC. The Storybook surface feeds keyboard bytes into a session store that owns the boot transcript, prompt state, numbered program lines, and shell mode transitions. That session then hands stored BASIC lines to a parser/interpreter pair that supports immediate commands like LIST, NEW, and RUN, plus resumable program execution for INPUT and BREAK. Implementation notes:
src/stories/Apple2Basic.stories.tsx wires RetroScreen to the Apple session and powers both the interactive story and the deterministic capture/demo variants. src/stories/apple2-basic/apple2-basic-shell-session.ts manages uppercase input, line editing, transcript updates, prompt switching, and asynchronous runner scheduling. src/stories/apple2-basic/apple2-basic-parser.ts parses immediate commands, numbered program lines, and the supported BASIC statement/expression subset. src/stories/apple2-basic/apple2-basic-interpreter.ts compiles stored lines into a resumable runner so RUN, INPUT, GOTO, IF ... THEN, END, and CTRL+C / BREAK behave like a shell instead of a static transcript.
Display Buffer And Follow Mode Terminal and prompt surfaces now expose a real display buffer instead of only showing the live viewport. That means you can scroll back through recent output, inspect older lines, then return to the live tail when you are ready to follow the stream again. Built-in behavior:
PageUp and PageDown move through the display buffer mouse wheel scrolling moves through the same history End returns terminal mode to the live tail auto-follow starts enabled, turns off when you scroll back, and turns back on when you return to the bottom
Use bufferSize to control how many rows of history the component-managed terminal or prompt surface keeps, and defaultAutoFollow if you want the view to start detached from the tail. <RetroScreen mode="terminal" bufferSize={400} defaultAutoFollow value={[ "line-01 warm boot", "line-02 telemetry stable", "line-03 waiting for operator" ].join("\n")} /> If you are driving the component with your own controller, configure the underlying buffer size on the controller itself: const controller = createRetroScreenController({ rows: 9, cols: 46, scrollback: 400 });
<RetroScreen mode="terminal" controller={controller} /> The browser suite now covers this path directly, including paging, wheel scrolling, anchored scrollback while new lines arrive, and auto-follow recovery back to the live tail. Auto Resize And Geometry Probing When rows and columns matter to the program inside the display, listen to onGeometryChange, turn that measurement into a terminal-style reply, and redraw from the reported size. The demo below simulates a terminal app issuing CSI 18 t, receiving CSI 8;<rows>;<cols>t, then repainting a full border and centered dimensions every time the panel resizes. The current demo shows a visible cursor dragging the real resize handles, pauses if you intervene manually, and still cycles through tight screen padding, multiple border alphabets, oversized glyph styles, plus every monochrome and ANSI display mode so the same terminal program can be watched under different visual projections.
react-retro-display-tty-ansi-auto-resize-probe.mp4
import { RetroScreen, createRetroScreenController } from "react-retro-display-tty-ansi-ascii";
const controller = createRetroScreenController({ rows: 9, cols: 34, cursorMode: "solid" });
export function ResizingTerminalProbe() { return ( <RetroScreen mode="terminal" controller={controller} displayPadding={{ block: 8, inline: 10 }} onGeometryChange={(geometry) => { const nextReply = `\u001b[8;${geometry.rows};${geometry.cols}t`;
console.log("terminal reply:", nextReply); controller.reset(); controller.resize(geometry.rows, geometry.cols); redrawBorderAndMetrics(controller, geometry.rows, geometry.cols); }} /> ); } This is useful for terminal-style dashboards, resize-aware prompts, or retro UIs that need to center content, draw frames, or adapt layouts from the actual LCD grid instead of from CSS alone. It is also a good place to project displayColorMode changes when you want the terminal behavior to stay fixed while the display mood shifts around it. Terminal Color Modes Use displayColorMode to decide how semantic terminal color should be projected onto the screen. The phosphor modes keep the retro LCD personality even when the source emits ANSI color. The ANSI modes preserve more of the source terminal palette.
react-retro-display-tty-ansi-display-color-modes.mp4
Available modes:
phosphor-green phosphor-amber phosphor-ice ansi-vga ansi-classic ansi-extended
<RetroScreen mode="terminal" displayColorMode="ansi-extended" value={[ "\u001b[31mALERT\u001b[0m \u001b[32mlink stable\u001b[0m", "\u001b[38;5;196mindexed 196\u001b[0m from the 256-color palette", "\u001b[38;2;255;180;120mtruecolor 255,180,120\u001b[0m" ].join("\n")} /> Reach for ansi-vga when you need the exact IBM PC/DOS 16-color palette used by ANSI art, ansi-classic when you want the softened 16-color terminal profile, or ansi-extended when 256-color and truecolor cells should survive all the way to the display. ANSI Art Playback The Midjourney galaxy demo uses the same RetroScreen cell pipeline to start from a drifting text field and pull